

.jpg)
Safety Download of Current Orders
To reduce the risk of data loss due to internet outages or system issues, you can automatically back up your most important information—your current live tabs and orders.
Simply keep the "Bar" page open on a computer while your bar is operating. The system will automatically download a lightweight .csv file of all active tabs every 30 minutes. This ensures that, even if you lose your internet connection, you’ll still have quick access to your latest orders.
Just make sure the Bar page stays open in a browser tab—if it’s closed, the automatic downloads will stop. Once your bar closes, you can simply close the page to stop backups for the day.
Yes
No
Waiter's App, Orders, Stats
Would you like to display ads in your menu?
You can only disable ads if you’re on a paid plan.
Even if you’re on a free plan, or if you’ve activated ads, this doesn’t mean your menu will always display advertisements. Whether ads appear depends on demand from our advertising partners.
If you’re on a paid plan but choose to enable ads, you may be eligible for revenue sharing. Contact us at contact@yourdigitalmenu.com, via WhatsApp at +34 672 076 448, or speak with your sales representative for more details.
How Will the Ads Look?
Ads will appear after every 4th category or every 5th product on your menu. They’ll be visually appealing, clearly marked as sponsored, and never intrusive.
We never promote other restaurants, bars, or any controversial, political, gambling, or adult content. If you ever feel uncomfortable with a specific ad for personal reasons, just let us know—we’ll remove it from your menu.
Yes
No
Displaying Ads

to #
Show tables from #
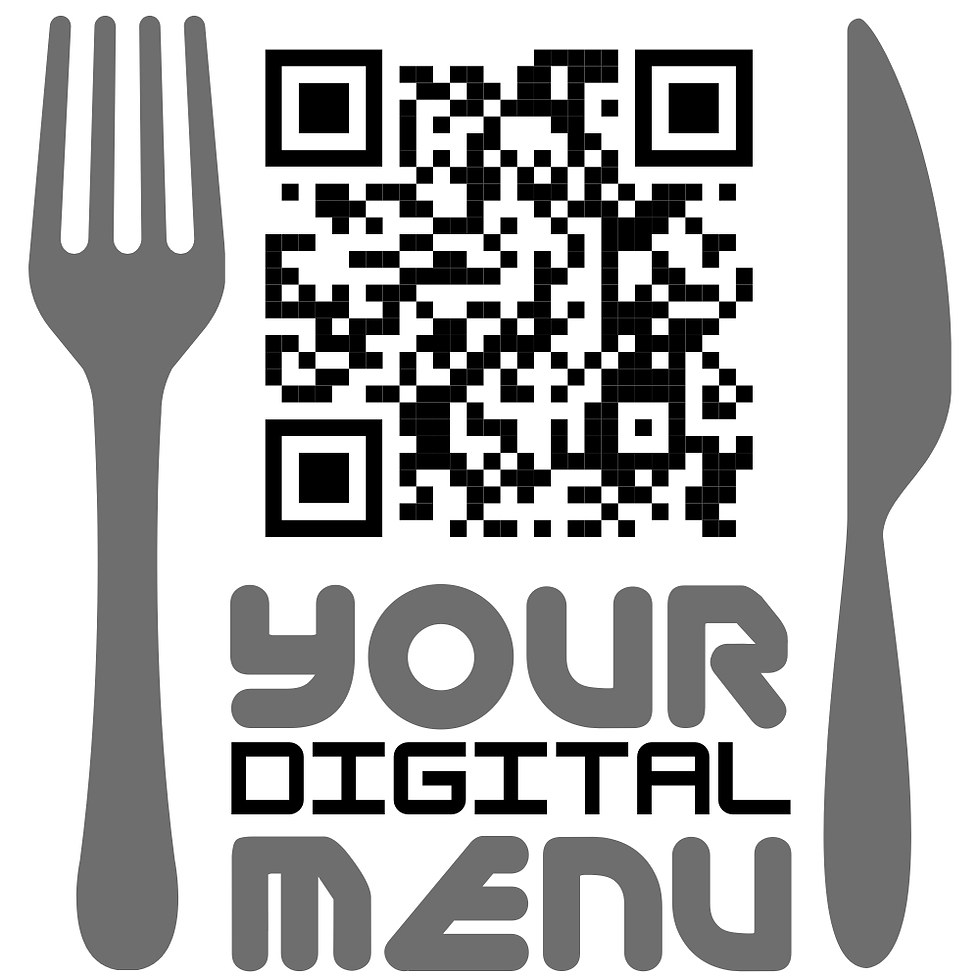
If your restaurant has many tables and you’re using the "Call the Waiter" button, you might have hundreds of unique QR codes. To make browsing and downloading easier, we've added tools to help you filter and display only the ones you need—or download them all in a ZIP file.
Simply select your preferred layout, and define a range of table numbers to narrow down the results.
Set Your Filter to Show/Download QR Codes
Your content has been submitted
How many tables do you have?
Do you want to use the "Call the Waiter" button?
Yes
No
If you would like to use the 'Call The Waiter' button, you will need to download and add separate QR code for each of your tables. Make sure that you add the right QR code to each table, otherwise, the system will send your waiting staff to the wrong place.
If you don't want to use this feature, you can add the same QR code for all of your tables.

Download Your Table QR Codes
Your Current Team Members
John Miller Smith
Collaborator
Name 2
Admin
Name 3
Admin
You can transfer ownership of this restaurant to any of your managers. Please note that once the transfer is complete, the selected manager will automatically become the new owner, and you will no longer be able to revoke it.
You will remain a manager of the restaurant until you either remove your own access on the “My Restaurants” page or the new owner changes your role to waiter or removes you entirely.
Transfer Ownership
You can invite your colleagues here to give them access to this dashboard via their own email address. You can decide the level of access you want to give them, and you can also modify it later.
-
Managers have full control and can change all settings and everything on your menu.
-
Waiters don't have access at all to this dashboard, but they can log in to the waiter page, so you can follow which of your team members places each orders.
Set Your Team
Slogan
Short Description
Russian
Header Title
Slogan
Short Description
Portuguese
Header Title
Slogan
Short Description
Dutch
Header Title
Slogan
Short Description
Italian
Header Title
Slogan
Short Description
French
Header Title
Slogan
Short Description
German
Header Title
Slogan
Short Description
English
Header Title
Slogan
Spanish
Short Description
Header Title
You can add a header title to the menu (by default, it will be the name of your restaurant, but you can change it to anything else), the slogan of your restaurant, a short description, and a longer story (no length limit on that) about what your guests should know about you.
You can add all of these in your eight chosen languages!
You will need to submit your changes at the bottom of this box, to make them live!
Add Your Slogan and Story
Upload Status
If you have a story to tell, you can add a video to your restaurant's menu! It will appear as a video icon in the header, and expand the video player on click .
You will be also able to add videos to each categories and menu items!
Add a Video
Main photo
Upload Status

Add a Photo of Your Restaurant (Will be displayed at the Restaurant's Details Section)
Header background
Upload Status
Yes
No
Display Header Title (The restaurant's name in default, but can be set to anything in the "Slogan & Story section.)
100%
20%
Background Opacity
You can choose whether to display your header background image at 20% or 100% opacity. If you select 20% opacity, you can set the background color behind the image in the Design page by adjusting "Color 2".
You can also decide whether to show your restaurant’s name as a text element in the header. (If your logo or background image already includes the name, you may want to hide the text to avoid showing it twice.)
Set Background Image opacity and how to display the Restaurant's Name
Add a Header Background Image and Set Header Design
You can add two photos of your restaurant here. The first will appear as the background of your menu's header. If you do not want to show an image there, simply skip this upload.
The second photo will show in the section where we will display your restaurant's details (address, opening time, etc).
Tip: For better and faster menu performance, we recommend using small-sized image files.
-
Choose .jpg format instead of .png whenever possible.
-
Keep image widths under 1500 pixels.
-
For optimal results, compress your images before uploading using free tools like youcompress.com.
Important: Only upload images you have full rights to use. Uploading photos from the internet without proper permission can lead to serious legal consequences, including fines and court action.
By using our platform and uploading images, you declare that you hold the rights to use all images you upload, and acknowledge that if we receive any legal claims regarding photos you’ve uploaded, we will forward these claims to you.
Upload Your Logo
You can upload your logo here. Ideally, it should be transparent PNG, and not wider than 1:3.
If you don't want to display a logo in your menu, simply skip this upload.
Upload Status

Add Your Logo, Photo and Video
To
From
Evening
Monday
Tuesday
Wednesday
Thursday
Friday
Saturday
Sunday
Sunday
Saturday
Friday
Thursday
Wednesday
Tuesday
Monday
To
From
Morning
Open
Are you closing between the afternoon and the evening?
Yes
No
Set Your Opening Time
Your content has been submitted
Add Your Business Info
Live Preview
(Reload the page to refresh preview)
Step 1: Add Your Restaurant Details
To begin building your menu, you’ll need to fill in the restaurant name, address, and currency—these are required to continue.
We also recommend completing the other fields, such as email address, phone number, and your website or social media links.
Once you're finished, don’t forget to click “Submit” at the bottom of the section.You can add your logo, two photos, and a video to personalize your restaurant's page.
Logo:
We recommend uploading a PNG file with a transparent background. The ideal aspect ratio is between 1:1 and 3:1.
Photos:
-
The first photo will appear as the background of your header.
-
The second photo will show in your restaurant’s info section.
For photos, we recommend using .JPG files, as they’re smaller in size and load faster. Avoid uploading large files—consider using free compression tools like youcompress.com before uploading.
Video:
You can also include a video about your restaurant.
All videos must be hosted on YouTube—just paste the YouTube URL in the designated field.
Don’t have a YouTube channel or prefer not to use your own?
We’re happy to host your video for you! Just message us on WhatsApp (+34 672 076 448) and we’ll help you upload and link it.-
You can add three types of text to introduce your restaurant:
-
A slogan (ideally one sentence, max. 70–80 characters)
-
A short description
-
A longer story with rich formatting (titles, lists, special characters, etc.)
The longer text is perfect for sharing your story with customers. It will appear under a “Read More” button, so your menu remains clean and elegant while still offering deeper insight.
💡 Tip: Set your languages before entering any text. All three fields (slogan, short description, and story) need to be translated into each selected language. Language buttons and input fields will only appear once you've selected all the languages you plan to use.
Need Help with Translations?
You can add the translations yourself, or let our team handle it!
We’d be happy to assist—just message us on WhatsApp: +34 672 076 448, and we’ll upload your translations in all selected languages within 2 working days (usually much faster).
-
You can add as many team members as you like. Each member will be able to log in using their email, Google, or Facebook account.
Team Roles:
-
Owner – 1 person max
Full access to everything, including the ability to delete the restaurant or transfer ownership. -
Managers – Unlimited
Full access to the dashboard and menu settings, but cannot delete the restaurant or change the owner. -
Waiters – Unlimited
Limited access: they can only use the Waiter’s App to manage orders. They cannot access the dashboard or menu settings.
Ownership can be transferred by the current owner to any existing manager.
Inviting Team Members:
To invite a new team member, simply enter their name, email, and role (manager or waiter). They’ll receive an invitation email and can log in using their own profile.
As a manager or owner, you can edit or remove any team member—except the owner, who cannot be removed.
-
Setting Up QR Codes & “Call the Waiter” Button
First, decide whether you want to use the "Call the Waiter" feature.-
If not, you won’t need table-specific QR codes.
-
If yes, simply toggle the switch to "Yes", and the system will generate individual QR codes for each table, allowing you to track exactly where the call comes from.
Generating QR Codes:
When you start building your menu, QR codes are not generated automatically.
You’ll need to click the "Generate QR Codes" button—this takes just a few seconds.
You can regenerate codes anytime, for example if you increase your number of tables or activate the waiter button later.
Static QR Codes – What You Get
We currently support 4 layout versions, and the system will create QR codes for each layout:-
A Generic QR Code for each layout (not linked to a specific table).
Ideal for placing on your door, window, terrace board, posters, or even sharing on social media. -
Table-Specific QR Codes: These must be placed on the correct tables. When you download them, filenames will include the table number and layout info, making organization easy.
You’ll also receive text links for each QR code, which you can use as hyperlinks or buttons on websites and digital platforms.
Dynamic QR Codes:
Alongside the static QR codes, you’ll also receive a dynamic QR code.
This lets you switch layouts anytime without reprinting the code—just choose the layout you want to display in the “Design” tab of your dashboard.
⚠️ Note: Dynamic QR codes include a redirection step, so menu load time may be 2–3 seconds slower. If you’re set on one layout, we recommend using static codes for faster performance.
Filtering & Managing QR Codes:
If you have many tables, your QR code list might grow to hundreds of entries.
To keep things manageable, you can filter QR codes by:-
Layout
-
Table number range
Apply filters to view or download only the QR codes you need.
Downloading QR Codes:
You can download your QR codes in SVG (vector) or PNG (image) formats.-
Individually
-
In bulk as a ZIP file (filtered based on your current settings)
This makes organizing and printing your QR codes quick and efficient.-
You can set whether if you want to display ads or not below in the "Displaying Ads" section with the toggle switch.
You can only disable ads if you’re on a paid plan.
Even if you’re on a free plan, or if you’ve activated ads, this doesn’t mean your menu will always display advertisements. Whether ads appear depends on demand from our advertising partners.
If you’re on a paid plan but choose to enable ads, you may be eligible for revenue sharing. Contact us at contact@yourdigitalmenu.com, via WhatsApp at +34 672 076 448, or speak with your sales representative for more details.
How Will the Ads Look?
Ads will appear after every 4th category or every 5th product on your menu. They’ll be visually appealing, clearly marked as sponsored, and never intrusive.
We never promote other restaurants, bars, or any controversial, political, gambling, or adult content. If you ever feel uncomfortable with a specific ad for personal reasons, just let us know—we’ll remove it from your menu.
Guide For This Page - How to Set Your Restaurant's Details
Getting Started – Step by Step
Follow these recommended steps to build your menu smoothly and efficiently. You can always return to any step to edit or add more information. Each page also includes a detailed guide to help you along the way.
You are on this page.
Enter your restaurant’s name, address, currency, and other key details.
1.
Select the languages you want to offer.
2.
Rename your first, automatically created category, then add more as needed.
3.
Add your first menu items (products) and assign them to categories.
4.
Choose your preferred layout and customize your colors.
5.
You are on this page.
Generate and download your QR codes.
6.
Your Menu Builder Guide

Address
Restaurant Name
Restaurant Data
Open Guide